
** This post may contain affiliate links. To read more about affiliate links, please check out my privacy page. **
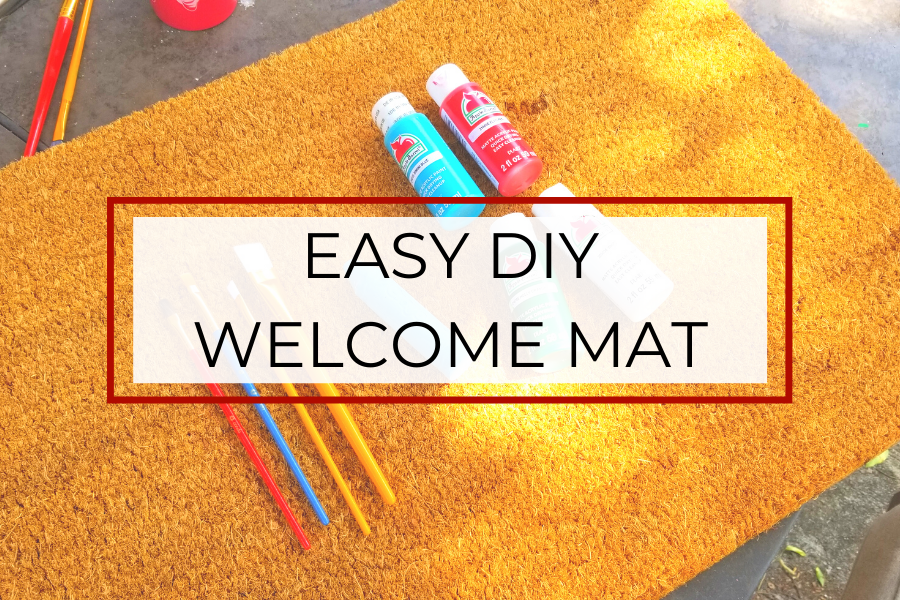
A cute welcome mat is an affordable addition to your front door to freshen it up for the new season, add a pop of color, or both. And with the current state of self-quarantine, they’re also a fun DIY!
As silly as it sounds, I normally find finding a perfect welcome mat to be a challenge – they’re either expensive or completely not what I’m looking for, and knowing they tend to not last very long I have trouble on splurging (spending more than $20) on one I really love.
YOU MIGHT LIKE: 12 Activities To Keep You Sane During Self-Quarantine
While we were stuck inside for quarantine, I decided to DIY my own welcome mat just to keep me busy and creative, but as it turns out it was a easy and fun craft project. This would even be great for kiddos too – they could make their own smaller versions to use as a welcome mat for their room!
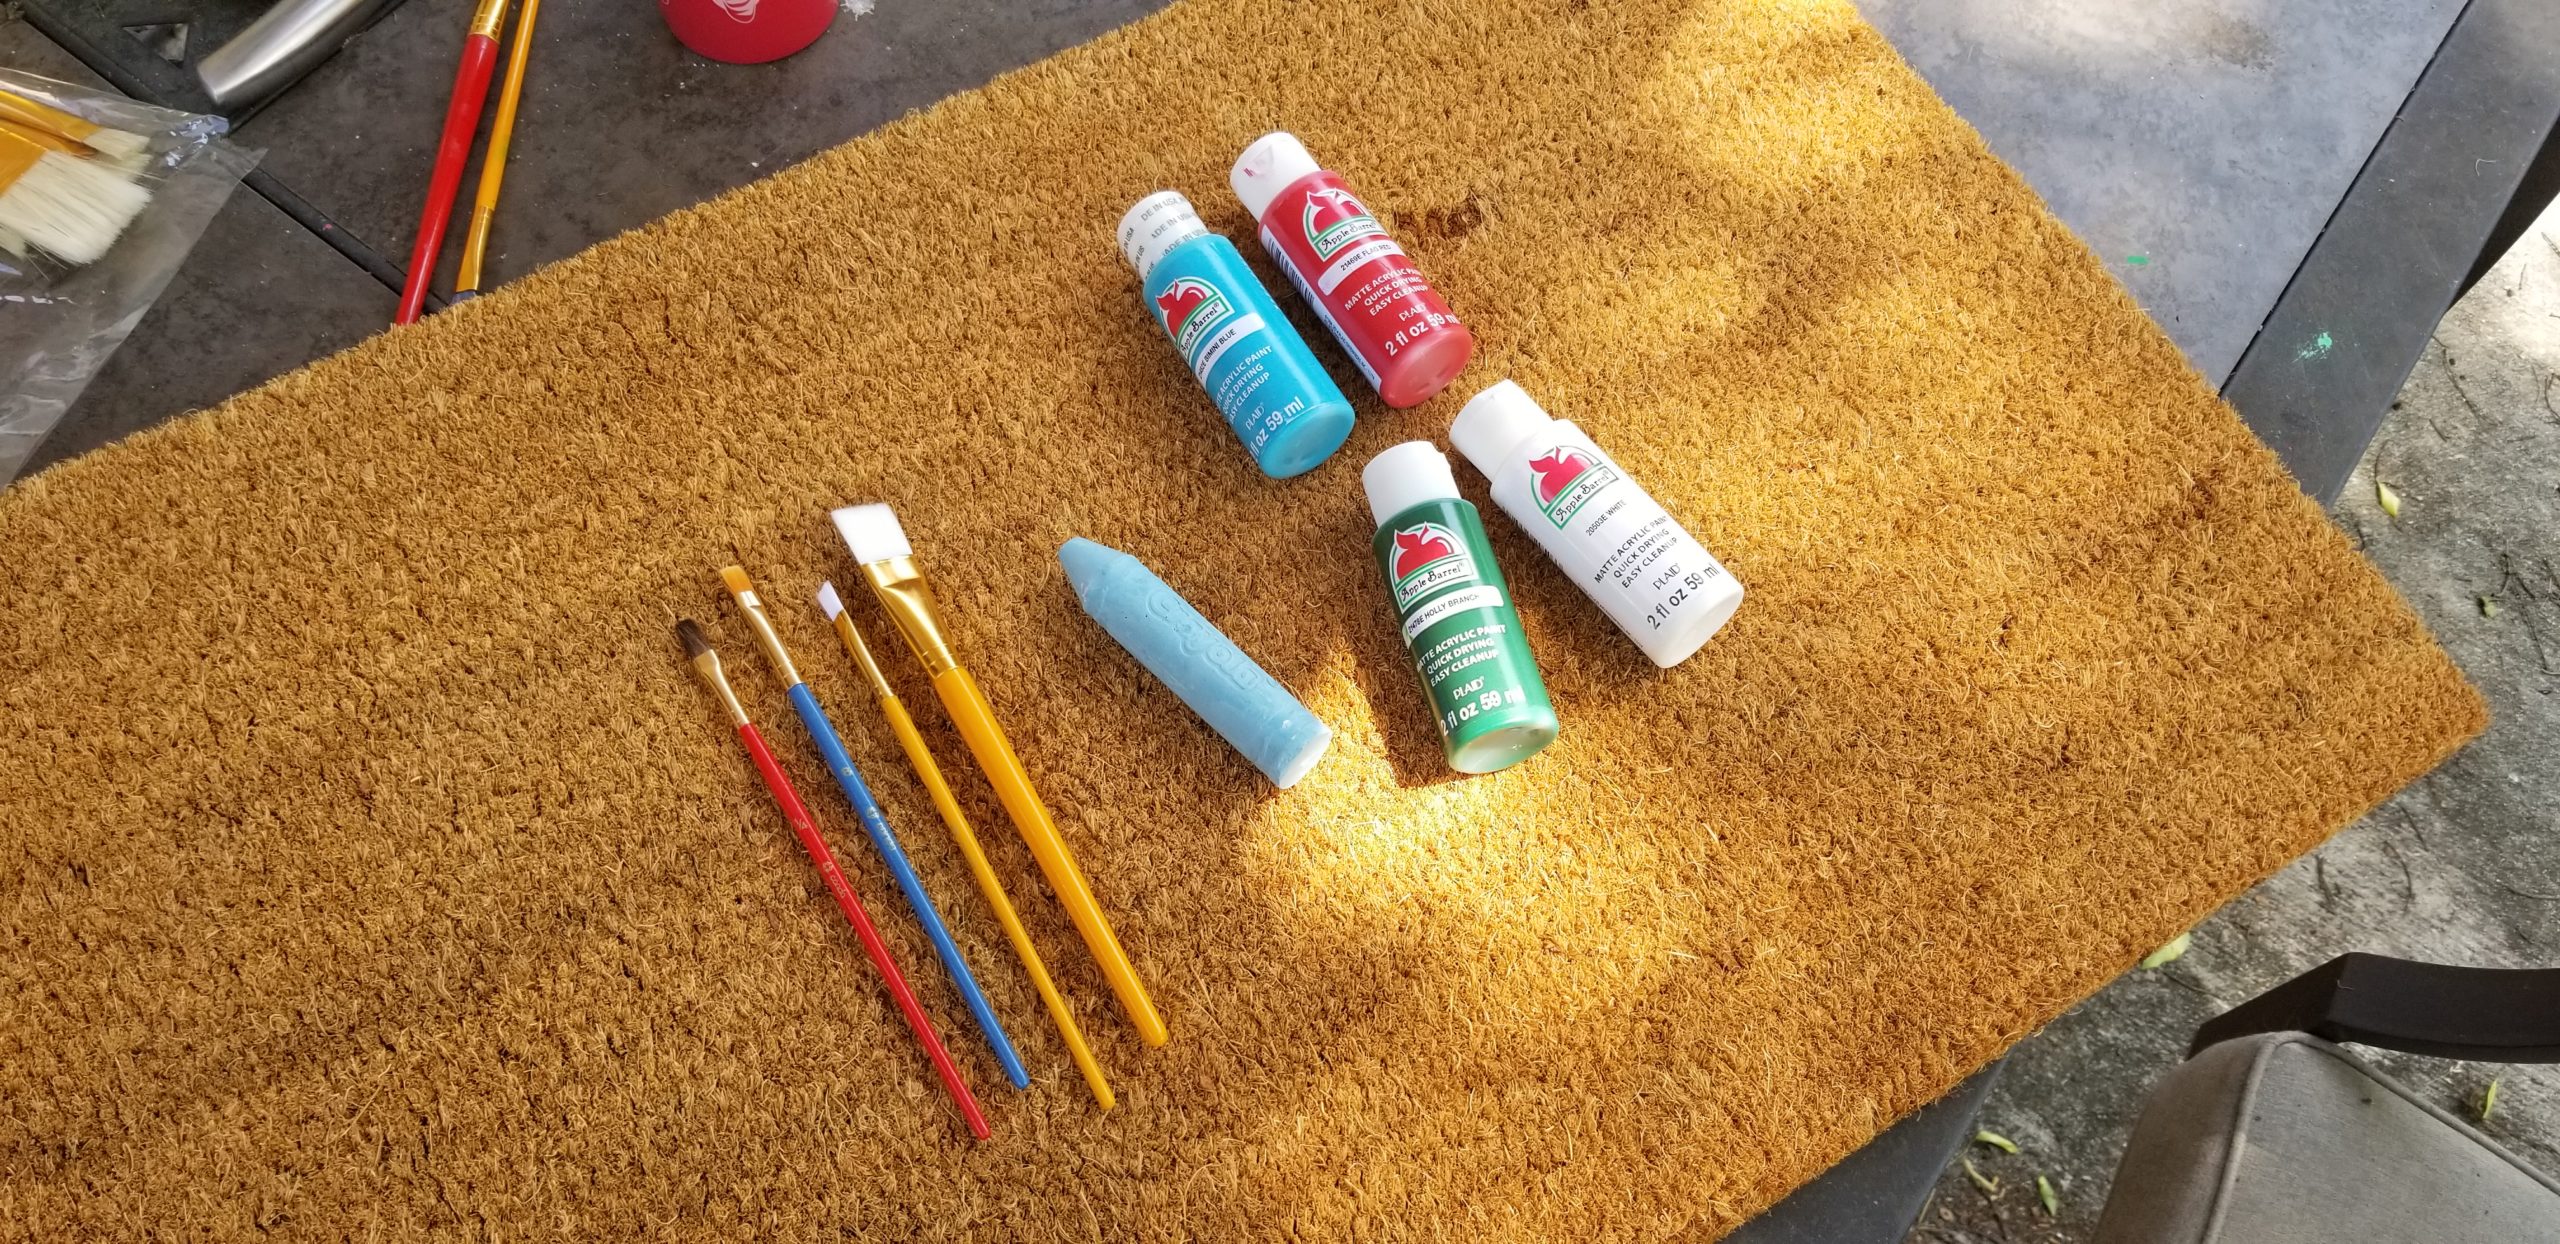
Here’s what you’ll need:
- “blank” coco coir doormat
- Sidewalk chalk (optional)
- Craft paint – I used this water-based kind for easy clean-up, but feel free to use an oil-based paint. Personally I’ve used both for outdoor projects and found the water-based to last through usual wear/tear and fade about the same as oil-based
- Paint brushes
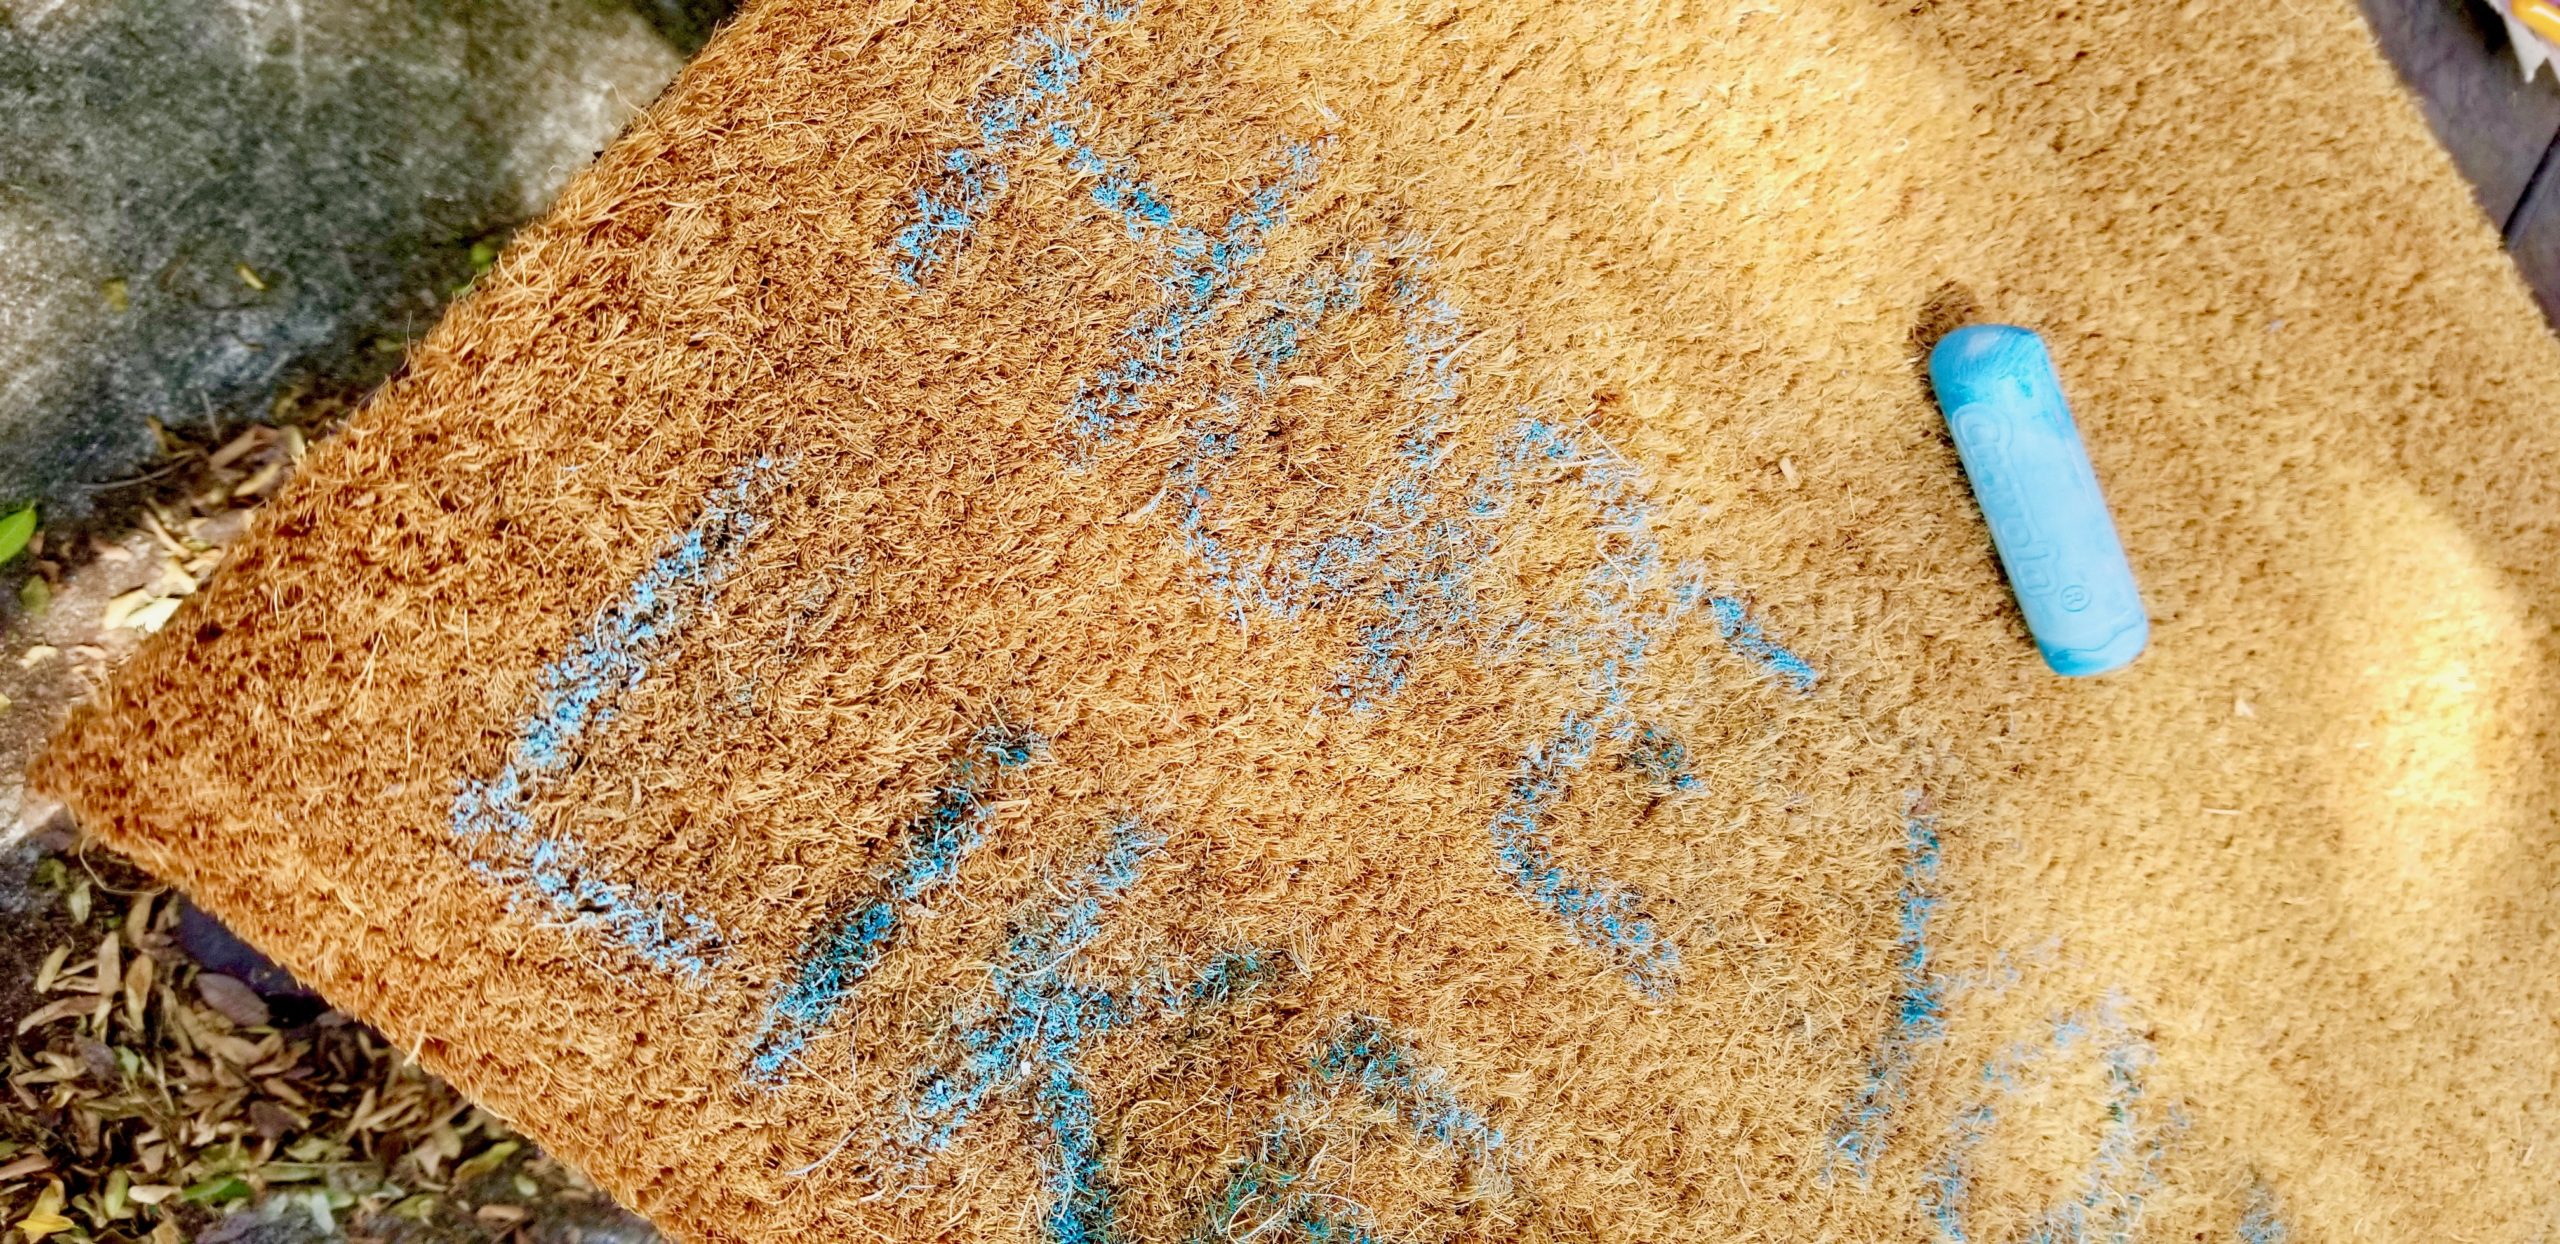
Step 1: Outline your design
I used sidewalk chalk for this, but this step is completely optional. I was going for a specific design, but if you feel good about eyeballing yours or want a more abstract look, feel free to freehand!
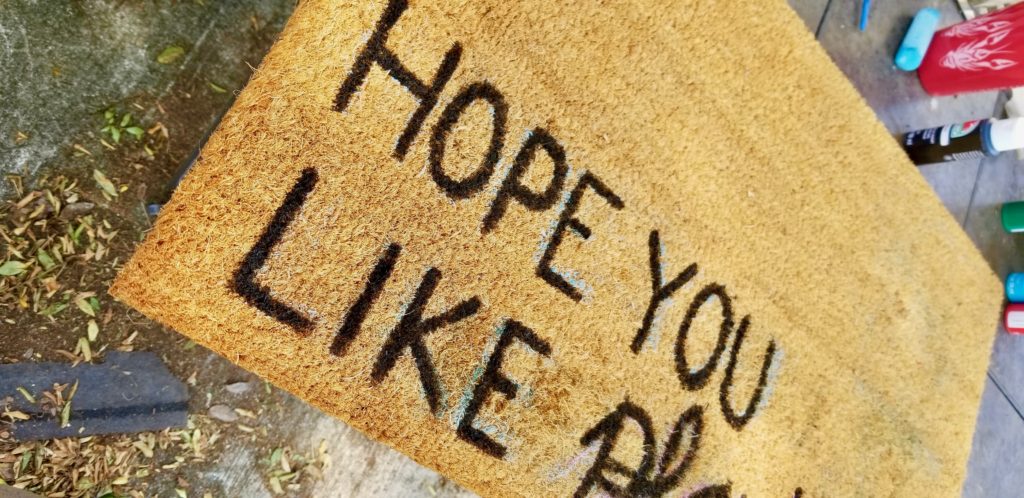
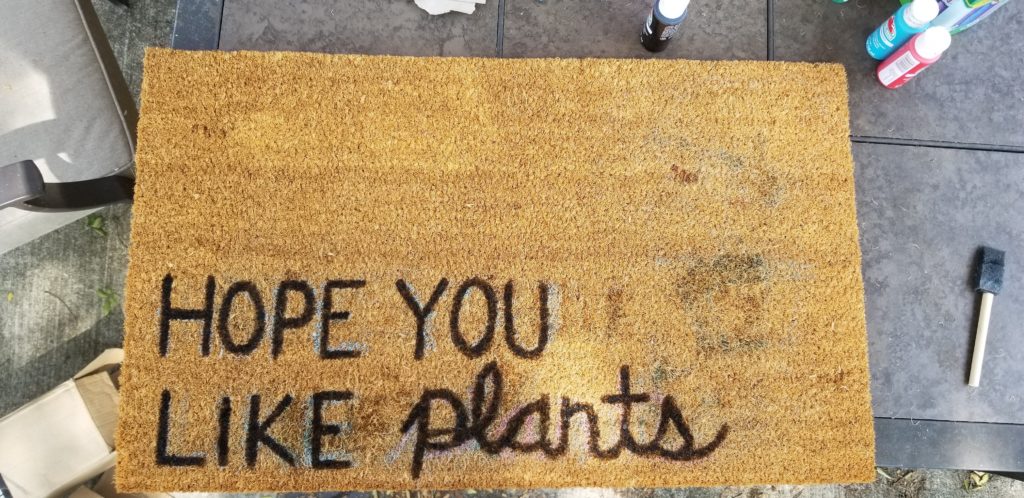
Step 2: Start painting
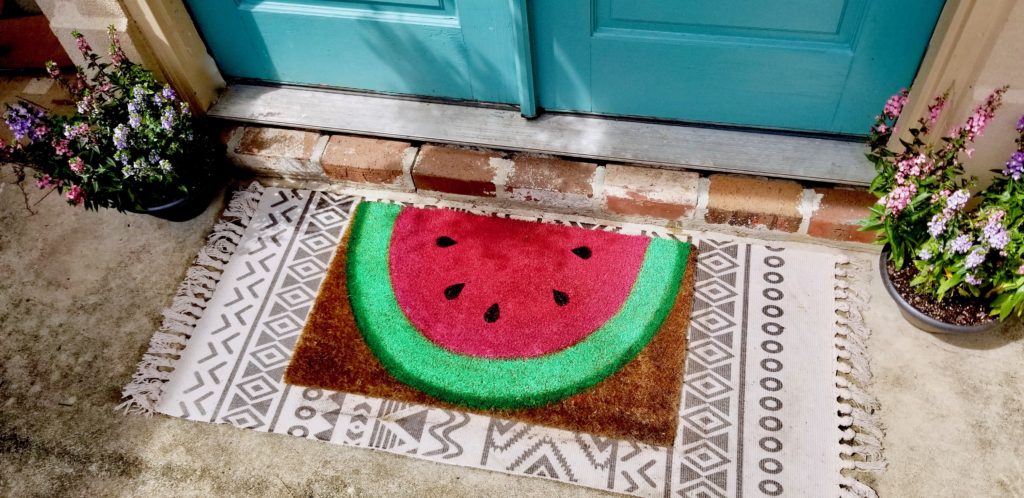
I found that “blotting” worked best for letters or smaller areas with more detail – holding your brush completely upright, dap or poke your mat with your paintbrush. For larger areas, regular painting works fine. Keep in mind you’ll need more paint that you think you will! For the watermelon mat pictured a little ways below, I used almost a full bottle of pink.

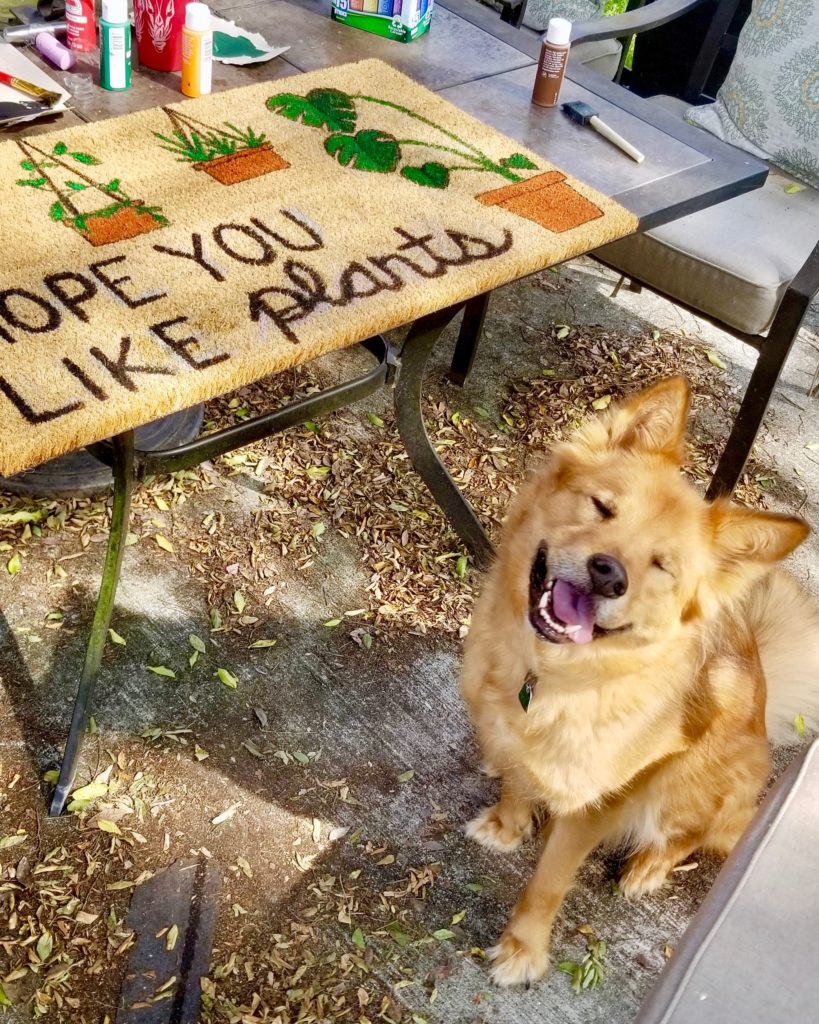
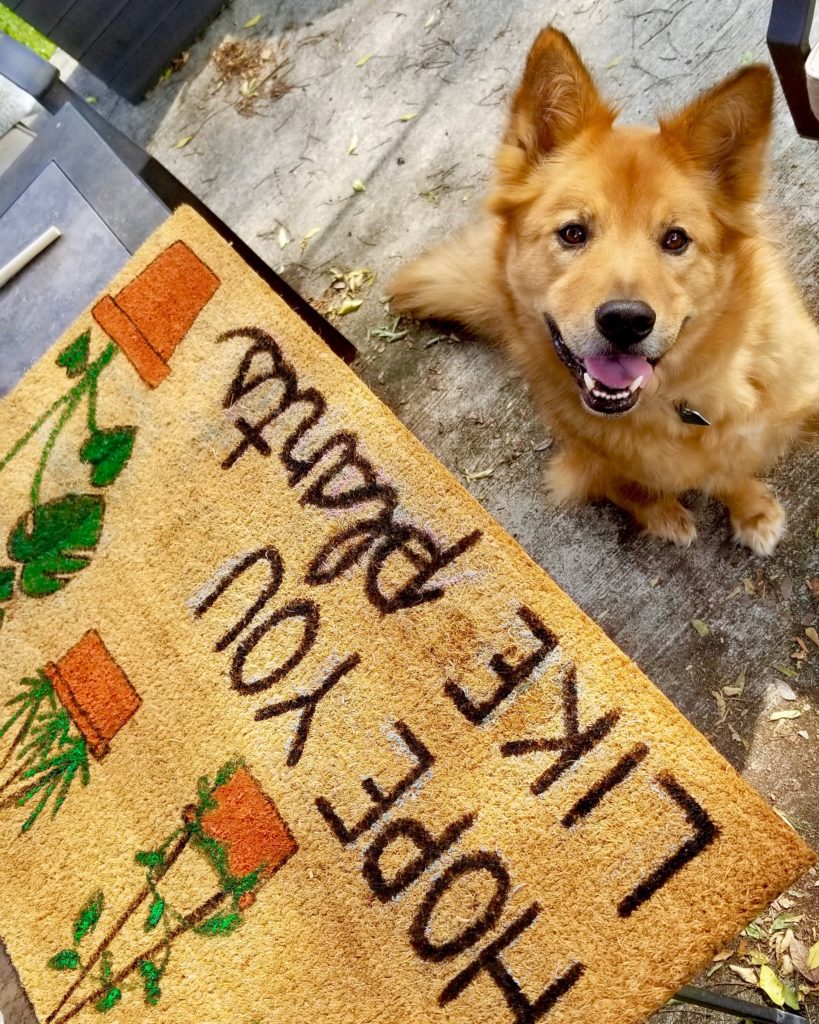
Step 3: Add the finishing touches
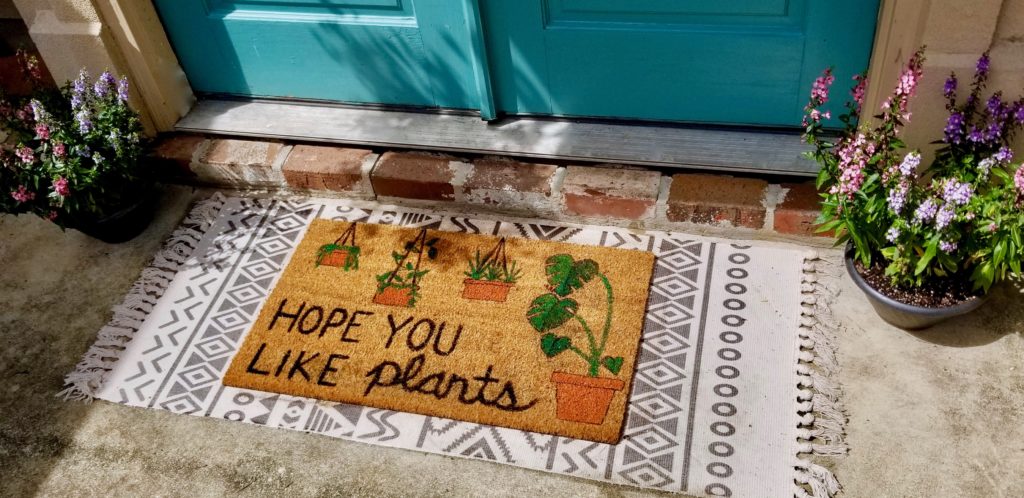
For me that meant adding a few plants, and thankfully Lily approved!
Step 4: Let dry overnight, rinse off any chalk marks, and enjoy your new welcome mat!
Which welcome mat do you like best? The “hello” was my old, the watermelon one is for my backdoor, and the “Hope you like plants” is for the front door.
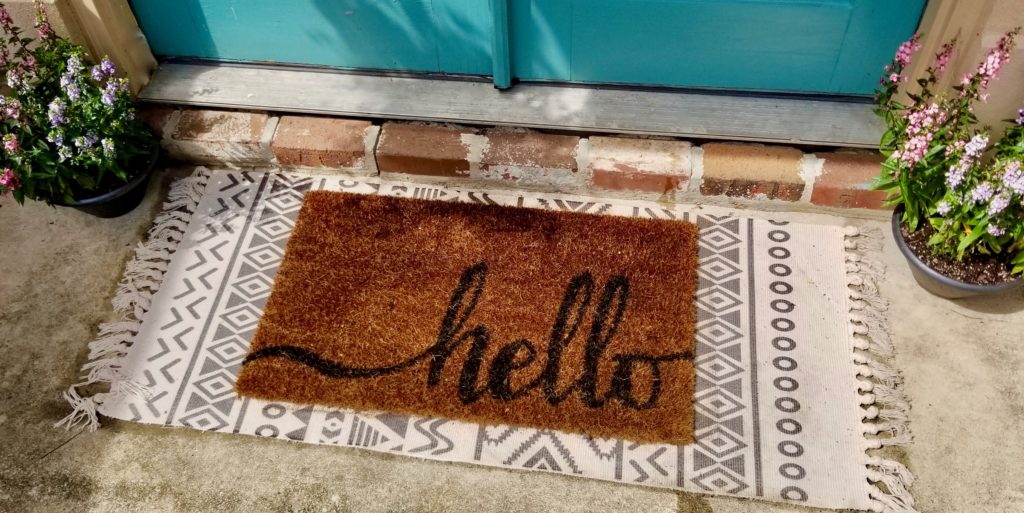
Bonus: “Stage” your front door
Add a cute layering rug like the ones below (this is mine), and a planter filled with colorful flowers for a brighter, more welcoming look!


Products I Used:


Are these okay for outside? Do you have to seal it somehow